
Introduction
In the digital age of photography, where storytelling and visual depth matter more than ever, tools like Photeeq Lens Flare have become essential for photographers and editors aiming to add cinematic flair to their images. Lens flare, once considered a flaw, has transformed into a powerful artistic tool—evoking emotion, enhancing natural light, and creating compelling atmospheres in photos. Whether you’re working on a soft portrait, a sweeping landscape, or a dramatic street shot, lens flare can be the secret ingredient that brings your composition to life.
Photeeq, a plugin development company best known for its innovative visual editing tools, offers a unique lens flare feature that enables photographers to integrate this effect with precision and ease. With customizable flares that mimic natural light interactions, Photeeq allows creators to fine-tune their work in a way that looks authentic yet artistically bold. In this article, we explore how the Photeeq Lens Flare tool works, why it’s a favorite among professionals, and how you can start using it to elevate your photography.
Whether you’re just venturing into photo editing or looking to enhance your visual storytelling, understanding how to leverage Photeeq’s lens flare effect can open up new creative possibilities. Let’s dive into what makes this plugin so compelling and how it can revolutionize your editing workflow.
Understanding Lens Flare in Photography
What is Lens Flare?
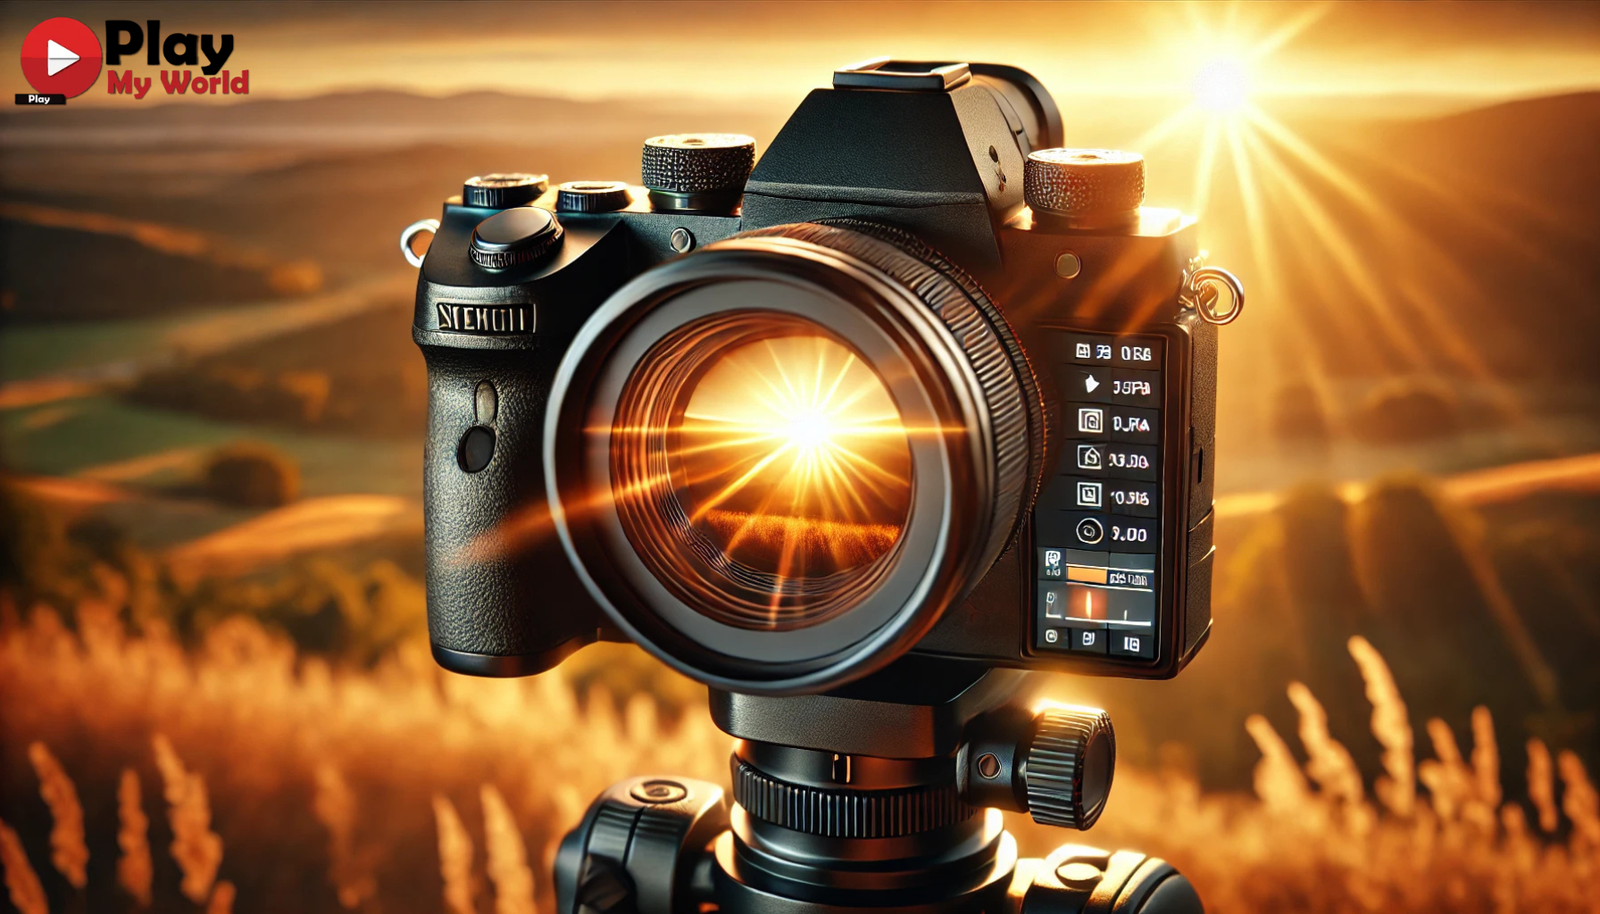
Lens flare is the visual artifact that occurs when a bright light source, such as the sun or artificial lighting, hits the camera lens directly and scatters light inside it. This effect often appears as bright circles, starbursts, or streaks that stretch across an image. While historically seen as a technical imperfection, modern photographers embrace lens flare as a tool for creative expression. It adds warmth, glow, and a sense of realism to photos, especially when used intentionally.
In digital photography and post-production, lens flare can now be added or enhanced using editing tools like Photeeq Lens Flare. This allows for full control over the intensity, placement, and style of the flare, which would otherwise be unpredictable in natural shooting conditions. Photeeq replicates this visual phenomenon with digital precision, giving you both realism and artistic freedom.
Artistic vs. Accidental Lens Flare
Not all lens flare is created equal. When accidental, it can obscure important elements in a photo, create unsightly overexposure, or reduce image sharpness. However, when used artistically, lens flare can lead the viewer’s eye, create emotion, or add dimension to a composition. Wedding photographers often use subtle flare to evoke romance, while travel and adventure shooters utilize dramatic sunbursts to convey grandeur and excitement.
Photeeq Lens Flare bridges the gap between accidental and artistic, allowing photographers to simulate natural light effects without compromising the quality of their image. With its intuitive interface and diverse flare presets, the plugin empowers artists to craft deliberate, eye-catching visuals.
Photeeq Lens Flare Plugin: Features and Capabilities
Photeeq’s suite of editing plugins has long been a favorite among photographers looking for powerful yet user-friendly tools. The Lens Flare plugin, in particular, stands out for its ability to recreate realistic light artifacts that blend seamlessly with both natural and studio photography. Whether you’re adding a sunset glow to a beach shot or enhancing the reflection in a cityscape, Photeeq gives you all the tools needed to fine-tune the effect.
One of the key strengths of Photeeq Lens Flare is its rich library of flare types. You can choose from circular glares, sun streaks, prism effects, and other variations that mirror real-world light interactions. The plugin is also fully customizable—allowing you to adjust the flare’s position, brightness, opacity, and color temperature to suit the scene perfectly. This ensures your added flare doesn’t look out of place or artificial.
Installation is simple, and the plugin integrates with popular photo editing platforms such as Adobe Photoshop and Lightroom. Once installed, the plugin becomes an extension of your workflow, providing intuitive sliders and preview features that make real-time editing a breeze. Whether you’re a beginner or a seasoned pro, Photeeq Lens Flare enhances your creative arsenal with minimal learning curve.
Using Photeeq Lens Flare for Creative Effects
Practical Editing Techniques
Adding lens flare to your images using Photeeq isn’t just about pressing a button—it’s about knowing how and where to apply it for the best impact. One common technique is enhancing existing light sources in a photo. If the sun is already visible in the frame, a subtle Photeeq lens flare can amplify its glow, making the entire composition feel warmer and more dynamic. Similarly, in urban night shots, a carefully placed flare near a streetlamp or car headlight can create a striking cinematic vibe.
Another creative method is using flare to frame your subject. Positioning the flare at the corner or edge of the frame draws the viewer’s eye inward, naturally highlighting the focal point. In portrait photography, a soft flare placed behind or beside the subject adds depth and mood, especially in backlit scenarios. These techniques can transform flat photos into multidimensional stories.
Tips for Realistic Application
While Photeeq Lens Flare is incredibly powerful, subtlety is key to maintaining realism. Overusing the effect can make an image feel artificial or distracting. Always align the flare with a logical light source in your photo. Pay attention to shadows and reflections—if they don’t match the direction of the flare, the image may feel off.
Adjusting color tone is another trick for realism. If your image is shot during golden hour, a warm amber flare will look more authentic than a blue-toned one. Likewise, reducing opacity and blending the flare softly into the background helps preserve the photo’s natural atmosphere. Photeeq’s tools make it easy to experiment, offering preview options so you can perfect the look before committing.
Alternatives to Photeeq Lens Flare
While Photeeq is a standout, several other plugins offer similar lens flare functionalities. Tools like Nik Collection, ON1 Effects, and Boris FX also provide lens flare options, often within a broader editing suite. However, these can sometimes feel bloated or overly complex for photographers who simply want to enhance their images with light-based effects.
Compared to these, Photeeq’s focus on simplicity and artistic integrity makes it a go-to for many. It offers the right balance between customization and usability, ensuring you don’t get lost in technical settings. For those who value streamlined performance and clean UI, Photeeq Lens Flare remains a top contender.
Conclusion
Lens flare has evolved from an optical nuisance into a beloved artistic effect, and tools like Photeeq Lens Flare have made it more accessible than ever. Whether you want to mimic natural sunlight, add cinematic polish, or create an ethereal glow, Photeeq offers the precision and ease you need to make it happen. Its customizable features, seamless integration, and user-friendly interface make it ideal for photographers of all levels.
With a little practice and creative vision, you can use Photeeq Lens Flare to elevate your images, making them not only visually stunning but emotionally impactful. Start experimenting today—and let your photos shine with light-infused brilliance.
Frequently Asked Questions (FAQs)
What software is Photeeq Lens Flare compatible with?
Photeeq Lens Flare works with major photo editing software like Adobe Photoshop and Lightroom.
Is Photeeq still available and actively supported?
While Photeeq’s availability has fluctuated, many users still find and use legacy versions. Be sure to check current compatibility and updates online.
Can I use the lens flare tool for videos or only photos?
Photeeq Lens Flare is designed specifically for still photography, not video editing.
Is Photeeq free or paid?
Some Photeeq plugins were offered for free, while others required a license. Availability may vary.
How can I avoid making lens flare look fake or overdone?
Always match flare direction and intensity with natural light in the photo. Use soft blending and realistic color tones.
Does Photeeq work on both Windows and Mac?
Yes, the plugin was designed for both platforms, depending on your editing software compatibility.
Are there mobile versions or apps that mimic Photeeq’s lens flare effects?
While Photeeq itself is not available for mobile, similar apps like Lens Distortions and Snapseed offer comparable features.